Initialization
Initialize portal, cluster, and application.
The deployment doesn’t configure the chain cluster, and we must initialize it before work.
Use Chrome to access the web page of the portal for initialization via default port 8090.
The following instructions use three storage peers deployments as examples.
Configure Initial Administrator
It will prompt inputting the initial administrator name and password when opened for the first time.
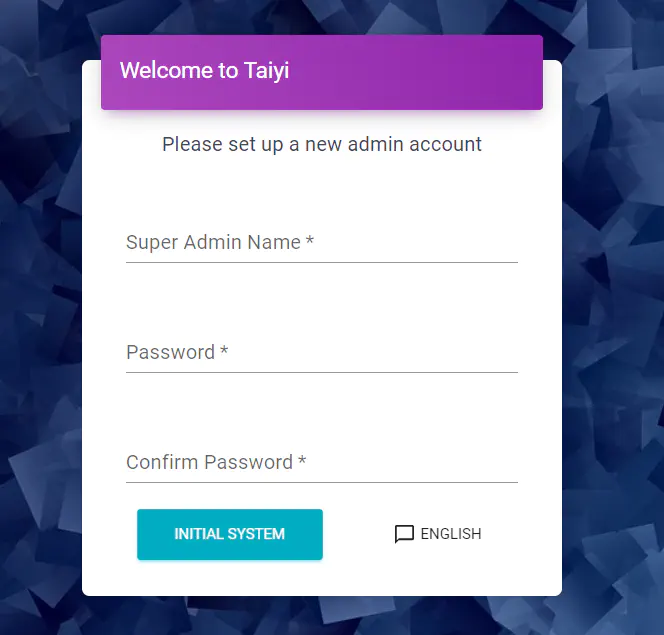
Only allow characters, numbers, and underscore allowed in the account name. The password required a strong combination including uppercase and lowercase letters, numbers, and symbols.
Click the button to initialize the account.
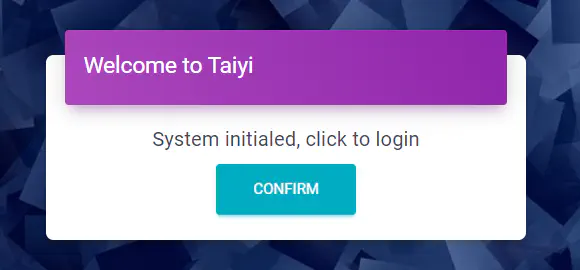
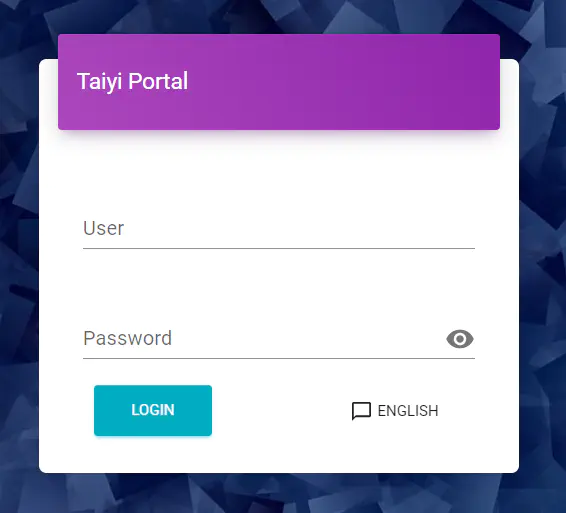
Now you can enter the portal using the new account.
Configure Chain Cluster
The storage peers automatically manage the blockchain.
If the cluster has a single peer, the only peer will work in standalone mode, which builds the genesis block and arbitrarily process request.
The initial peer will switch to cluster mode and start the election if discovers a new peer. When the election success, a new cluster committee will handle all transactions using the consensus mechanism.
Note that a successful election requires three active peers, at least.
Only trusted peers with a digital certificate could join the cluster. Every new peer starts on standby mode waiting for a qualified certificate to continue work.
The order of cluster configuration is as below:
- Create the initial peer, and construct the genesis block in standalone mode.
- Add storage peers and switch to cluster mode.
- After the election, wait for synchronization, then begin work.
Create Initial Peer
The system will prompt the following message when not initializing the chain.

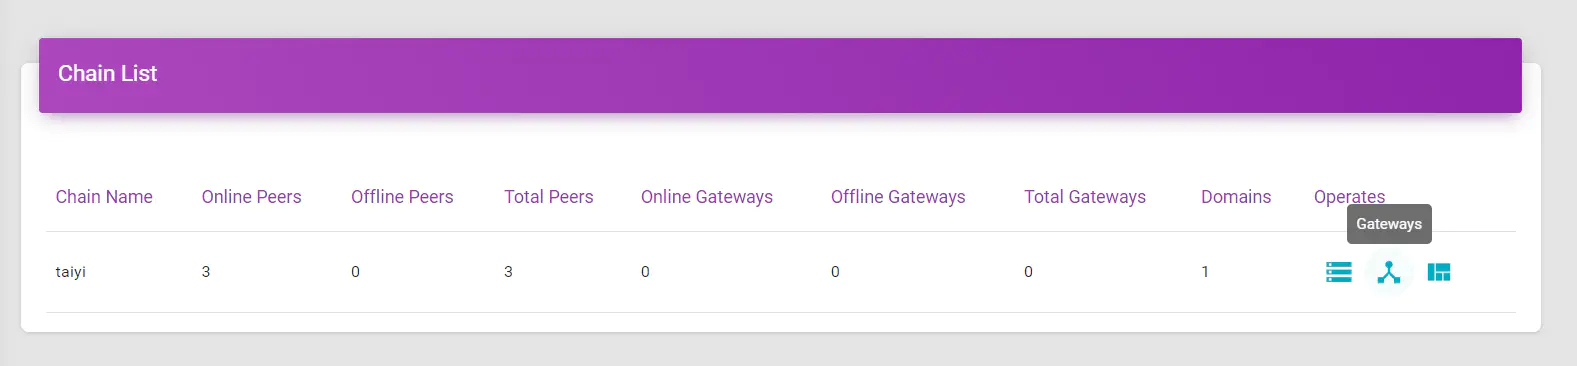
On the chain list, there is only a default chain without peers.
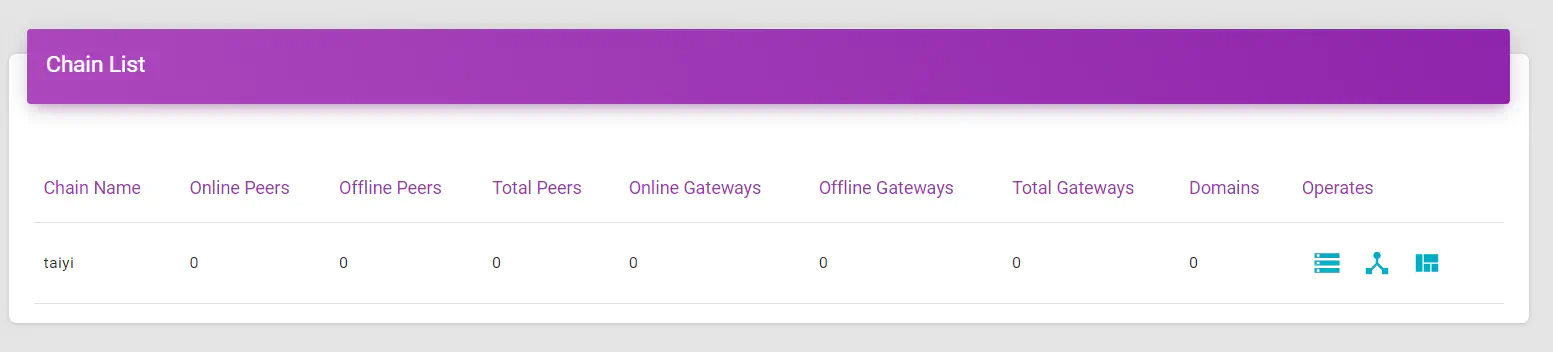
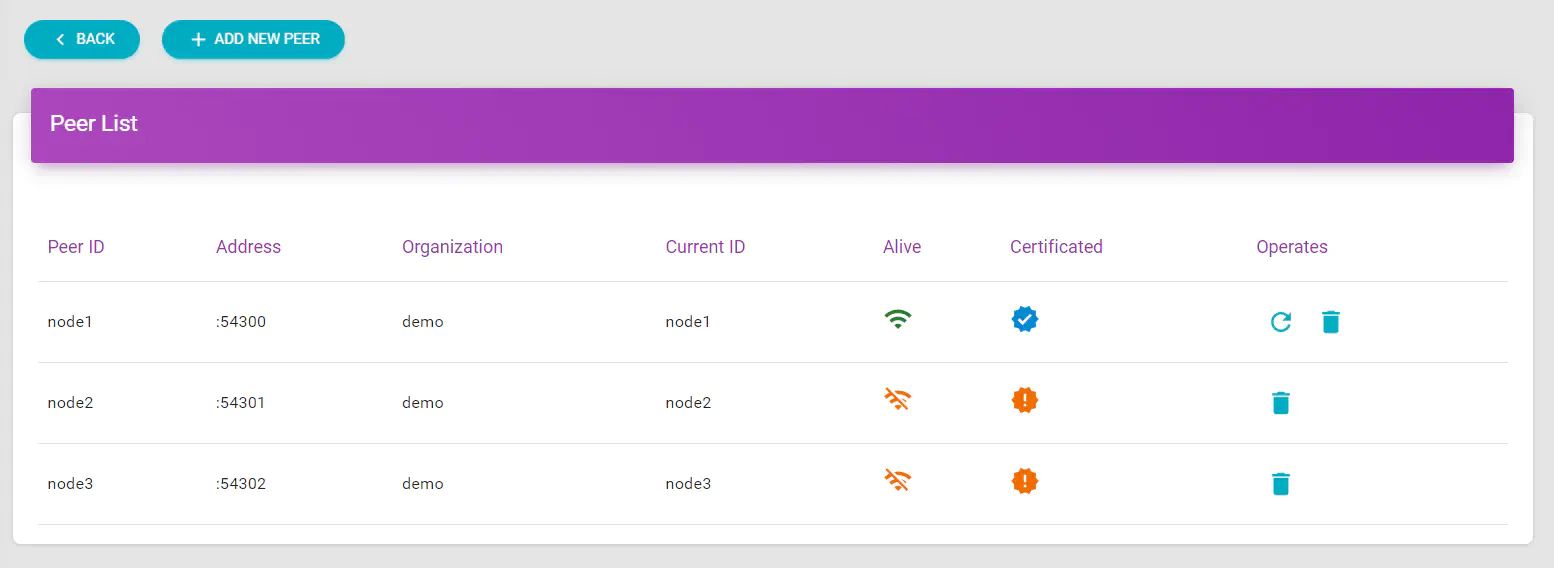
Click “Peers” to browse the peer list

Input the peer’s name, address (using the published address instead if available), and validity period to create a new one.
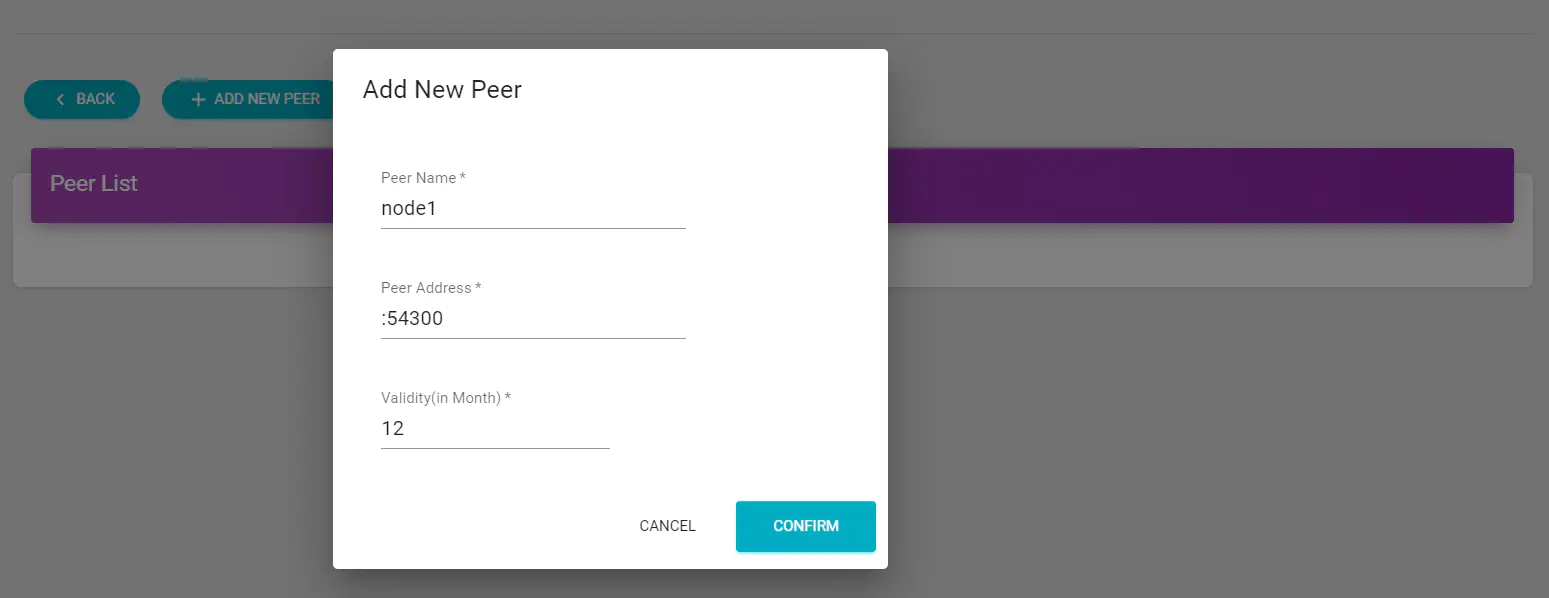
The new peer will display in the list after creation but is still offline.
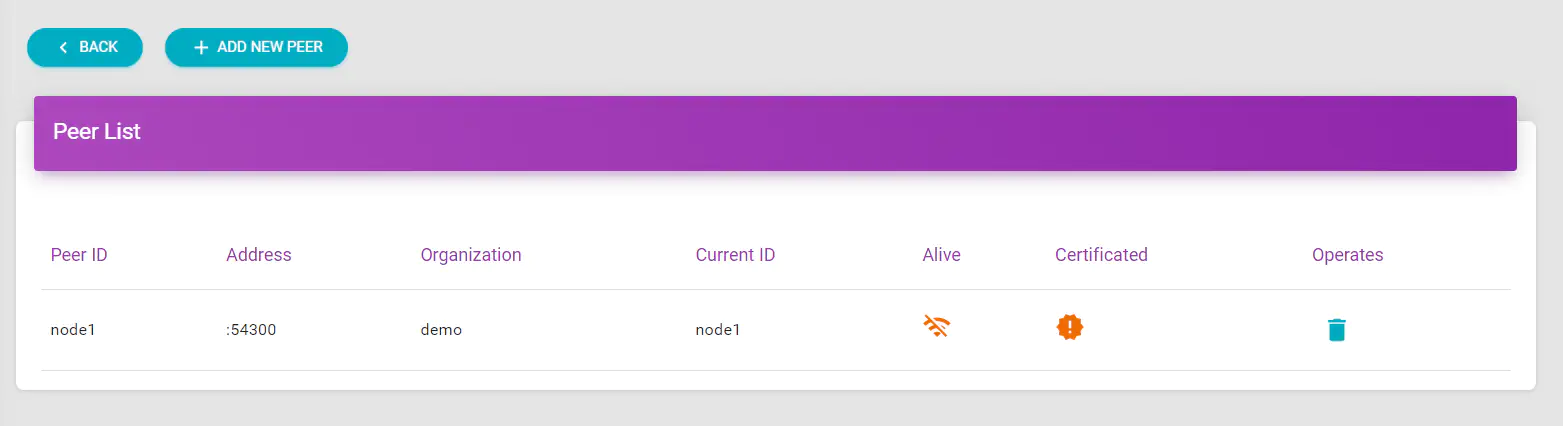
After a short while (usually within 10 seconds), the portal will automatically establish a connection with the new peer, then mark it as online.
If the status hung up too long, check the log for a reason.

The storage peer is uncertified without a certificate. Click to deploy one.
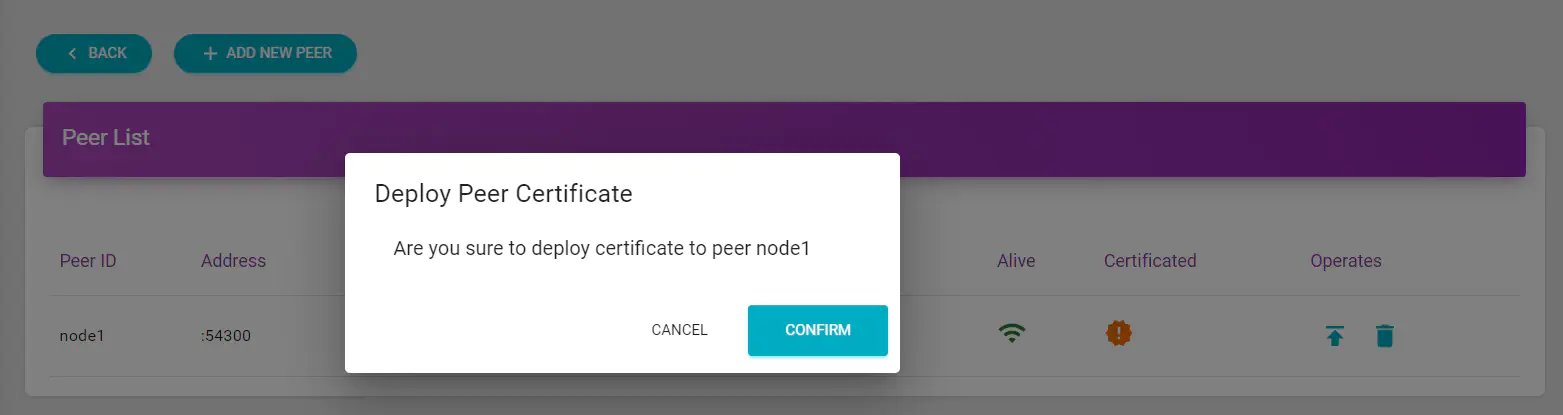
The digital certificate will deploy to the target peer after confirmation.
The peer will verify and load the received certificate and re-establish a secure connection to the portal.
After waiting for a short while (usually within 10 seconds), the peer will connect as a trusted member using the certified identity.
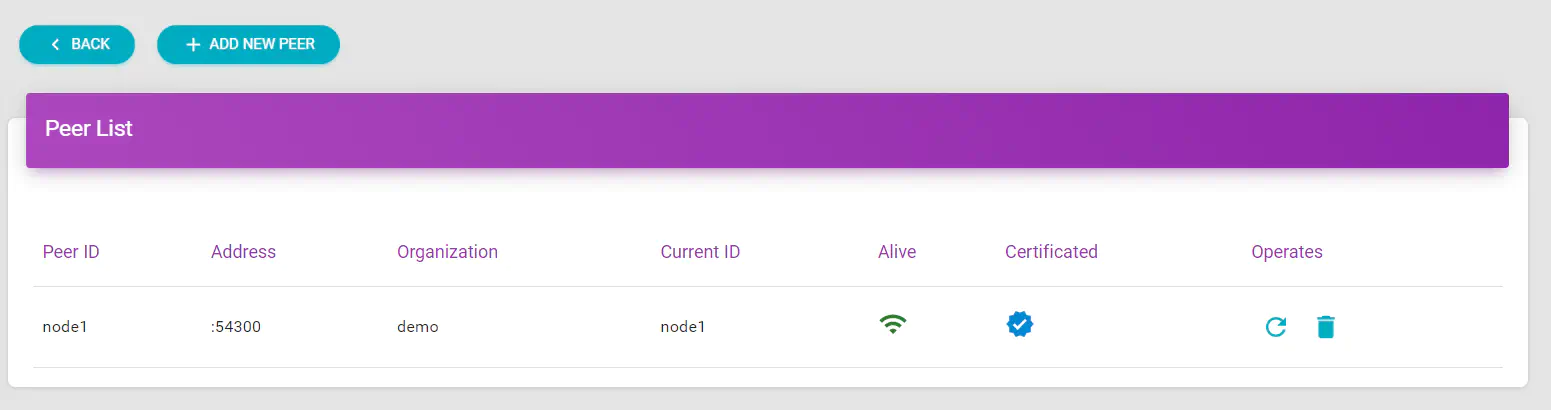
When joining the cluster, the initial peer will build the genesis block and initialize the chain.
Now, you can check the blockchain working status on the dashboard.
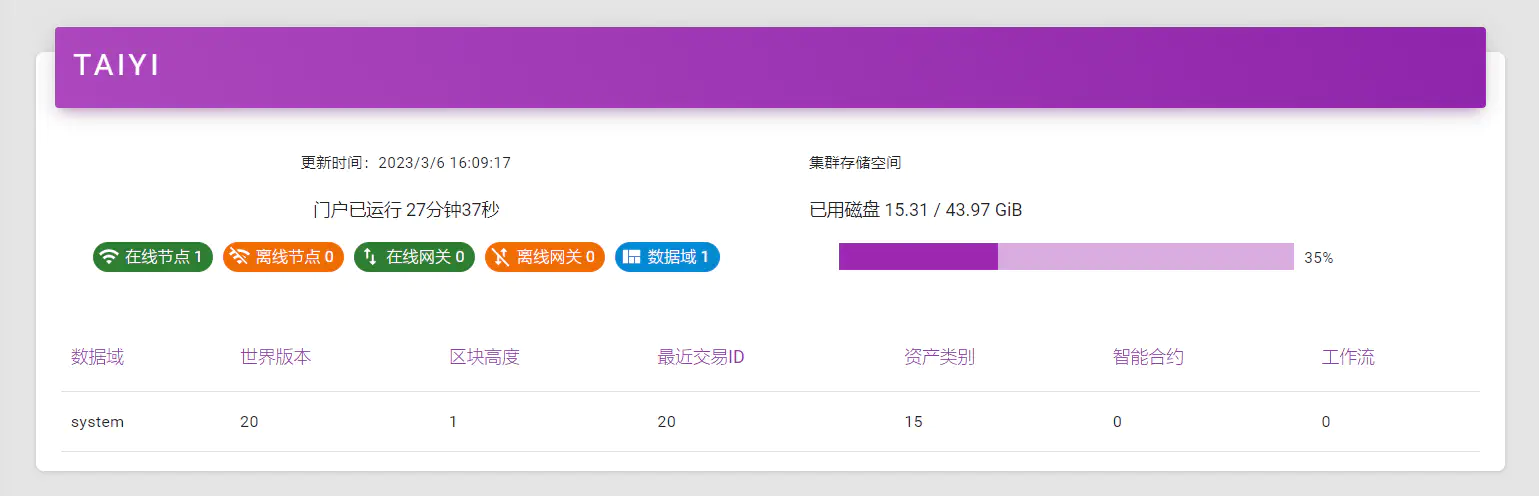
Because a new peer will synchronize data from the initial one, you must wait for the block to reach height 1 before adding a new one.
Add Storage Peer
Adding a new peer is as simple as the initial one, configure first, then deploy.
Waiting for all storage peers connect using the authorized identity.

Usually, the chain will quickly begin work when all peers are ready.
Try to create a sample schema in the Digital Asset menu to verify if the chain works properly.
If you encounter any error, troubleshoot the reason according to the error message and log.
At this point, the blockchain is ready for service.
Configure Chain Application
This system uses a zero-trust security model. Chain applications must have a trusted digital identity to connect the gateway, and all operations must have sufficient privileges to execute.
Configure the gateway, privilege, and access token first to use the application.
Configure Access Gateway
The access gateway must have an authorized certificate to join the cluster.
The gateway starts on standby mode waiting for a qualified certificate to continue work.
Click to view gateway list of the chain.
There is no gateway in the newly installed cluster
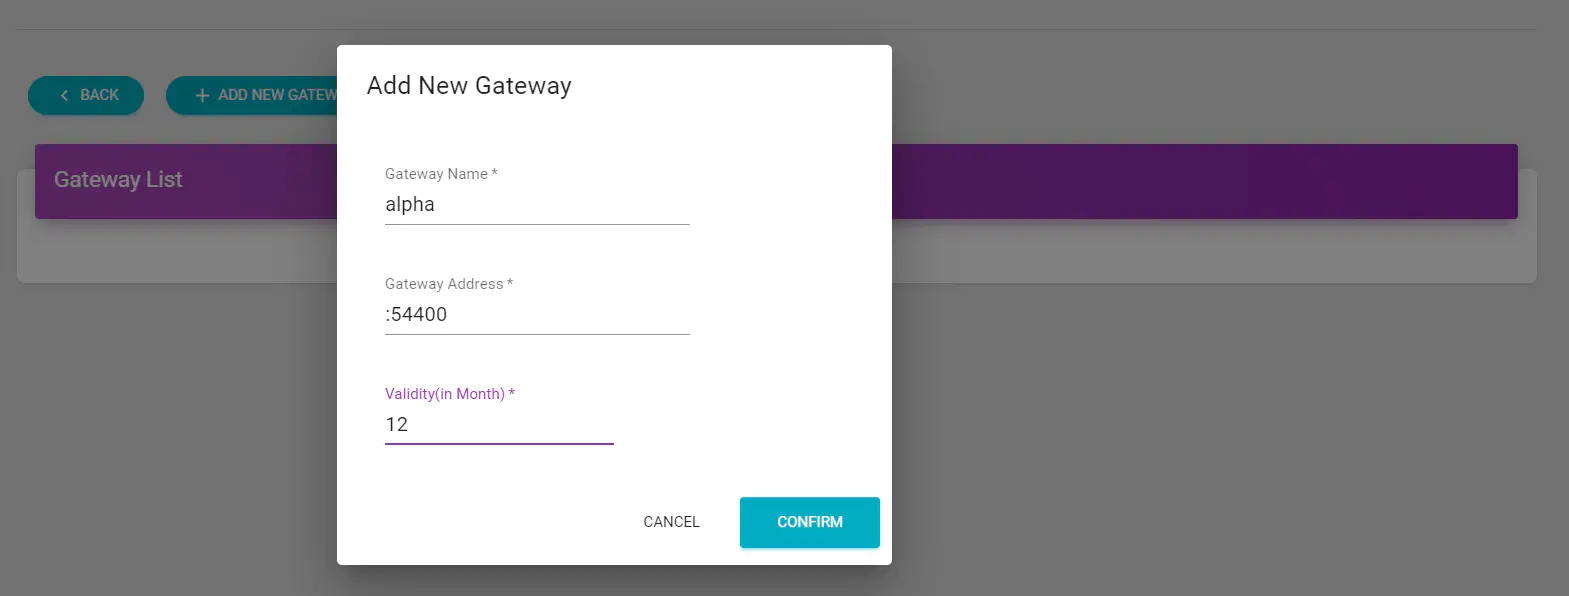
Add gateway with listening address, wait the connection established.
Deploy the certificate after connected, wait the gateway authenticated using authorized identity.
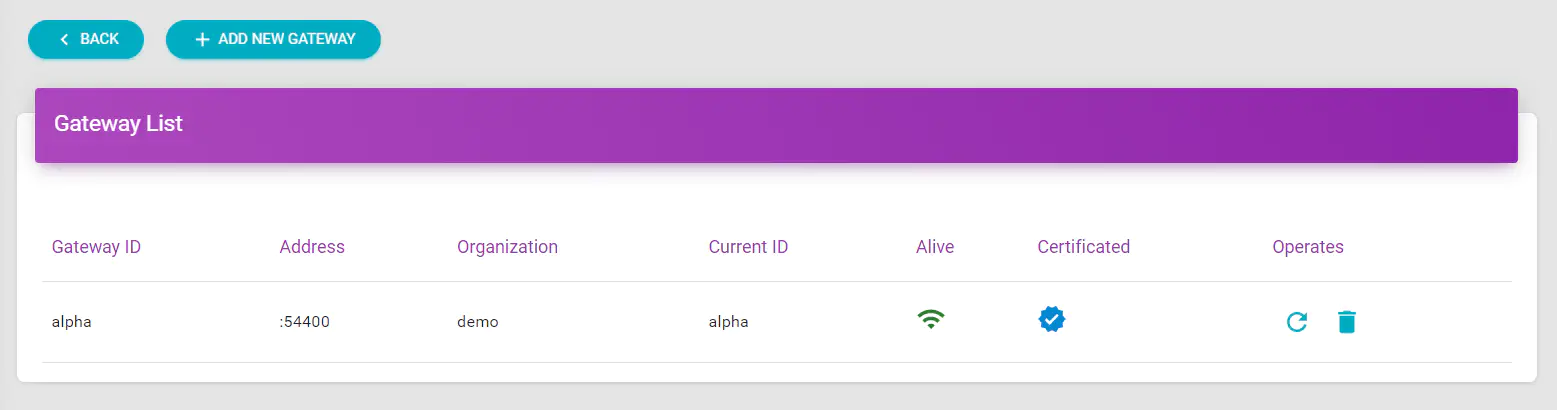
The access service ready when the gateway connected.
A cluster could deploy multiple gateways to extend the overall throughput.
Configure Group Privileges(Optional)
Chain application’s privileges inherit from group, which manage privileges using Role-Based Access Control model.
The system provides build-in application groups and roles to speed up configuration.
Administrators can use build-in groups or custom new groups for chain applications.
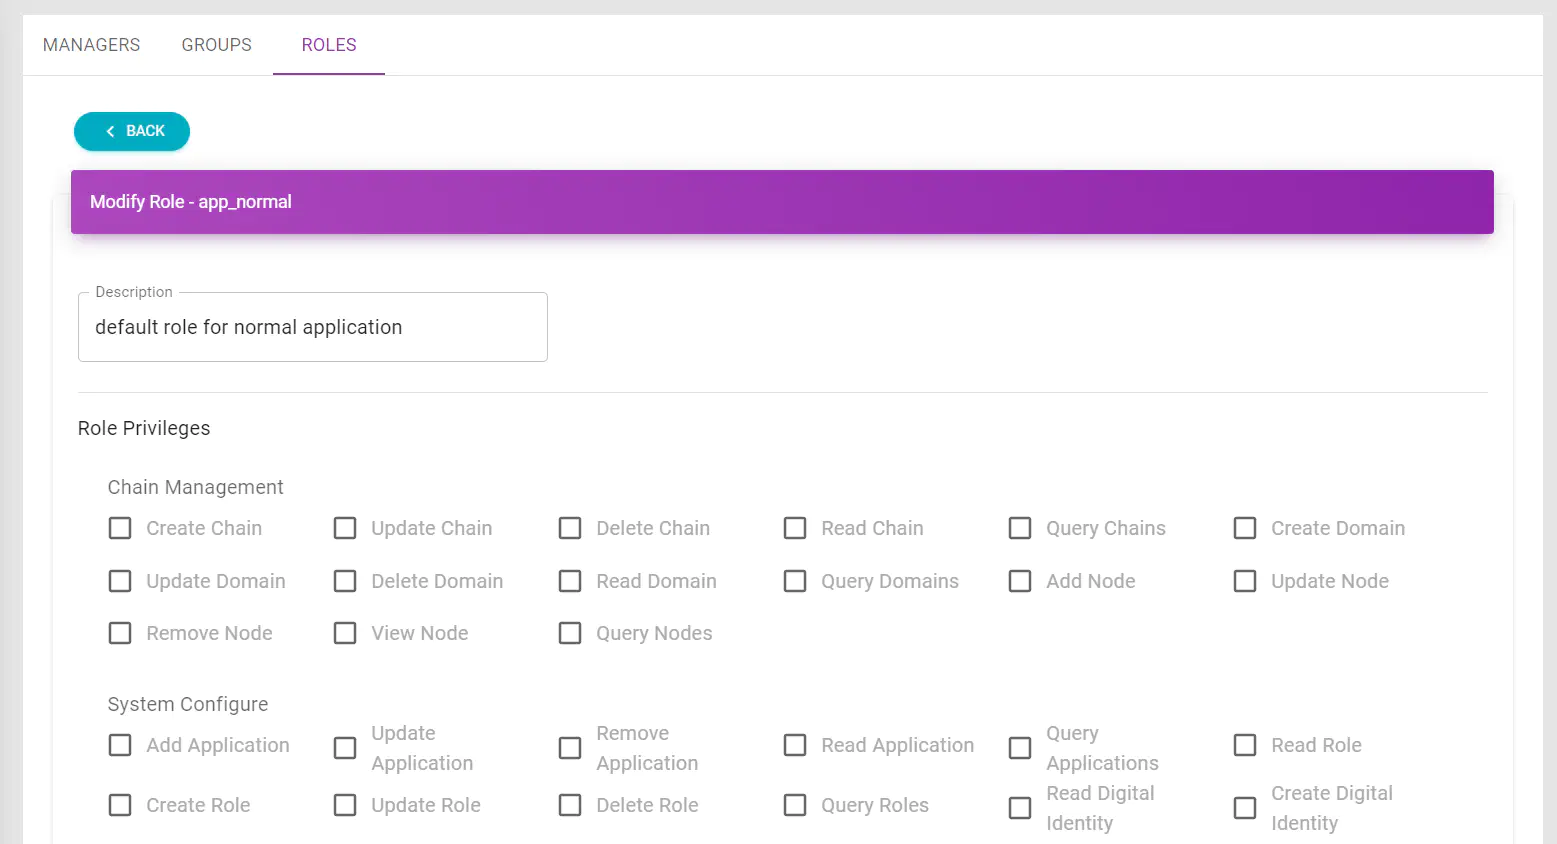
Configure Role Privileges(Optional)
Choose privileges when creating or modifying role for customization.
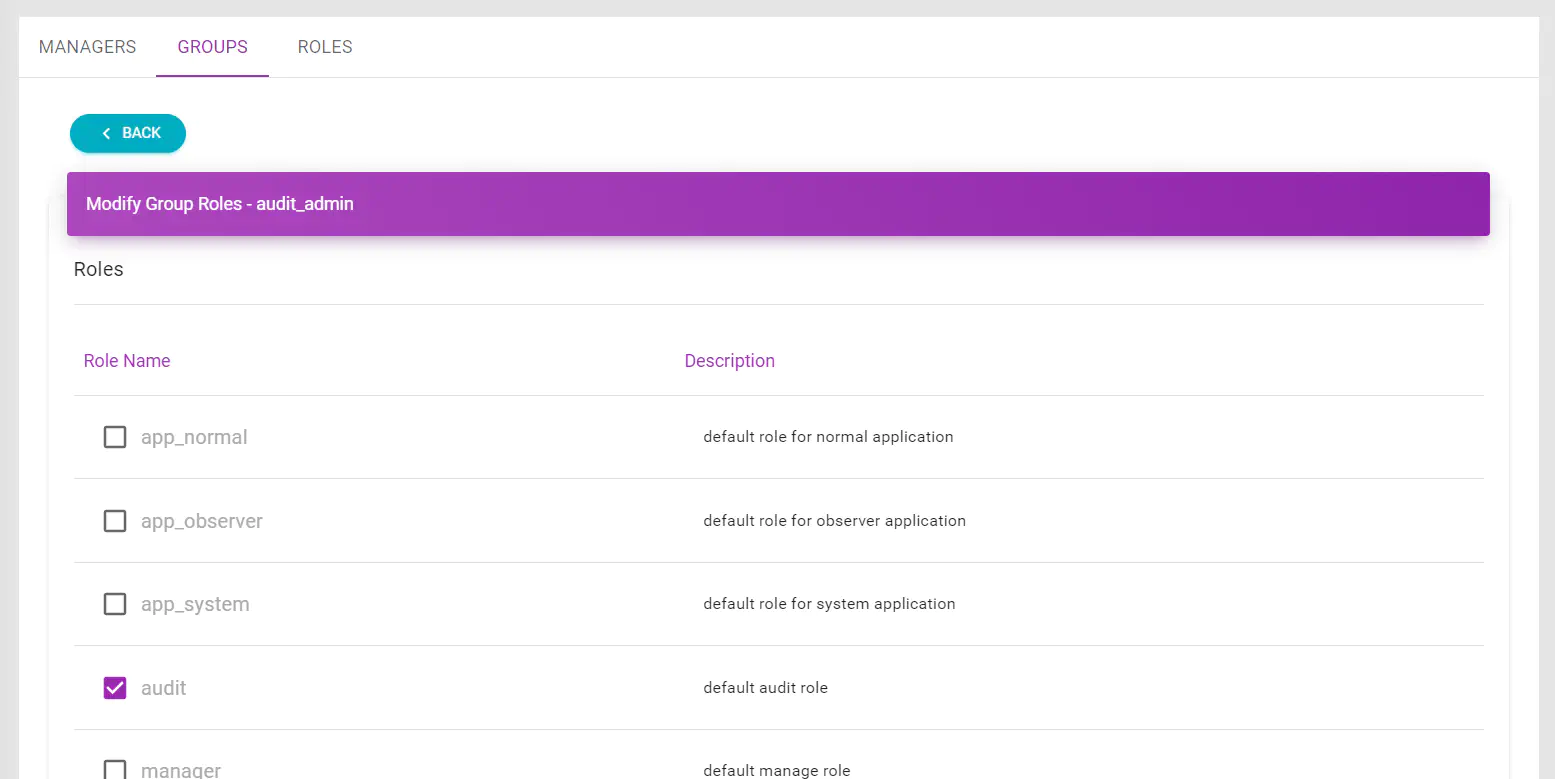
Configure Application Group(Optional)
The application group could bind multiple roles, application in the group inherits all privileges from roles.
Choose the roles bind to group when creating or modifying an application group.
Configure Application Access
The application require an access token to connect the system.
Create Chain Application
A business system must have a authorized identity and sufficient privileges to access the blockchain system.
Create a new application from the list
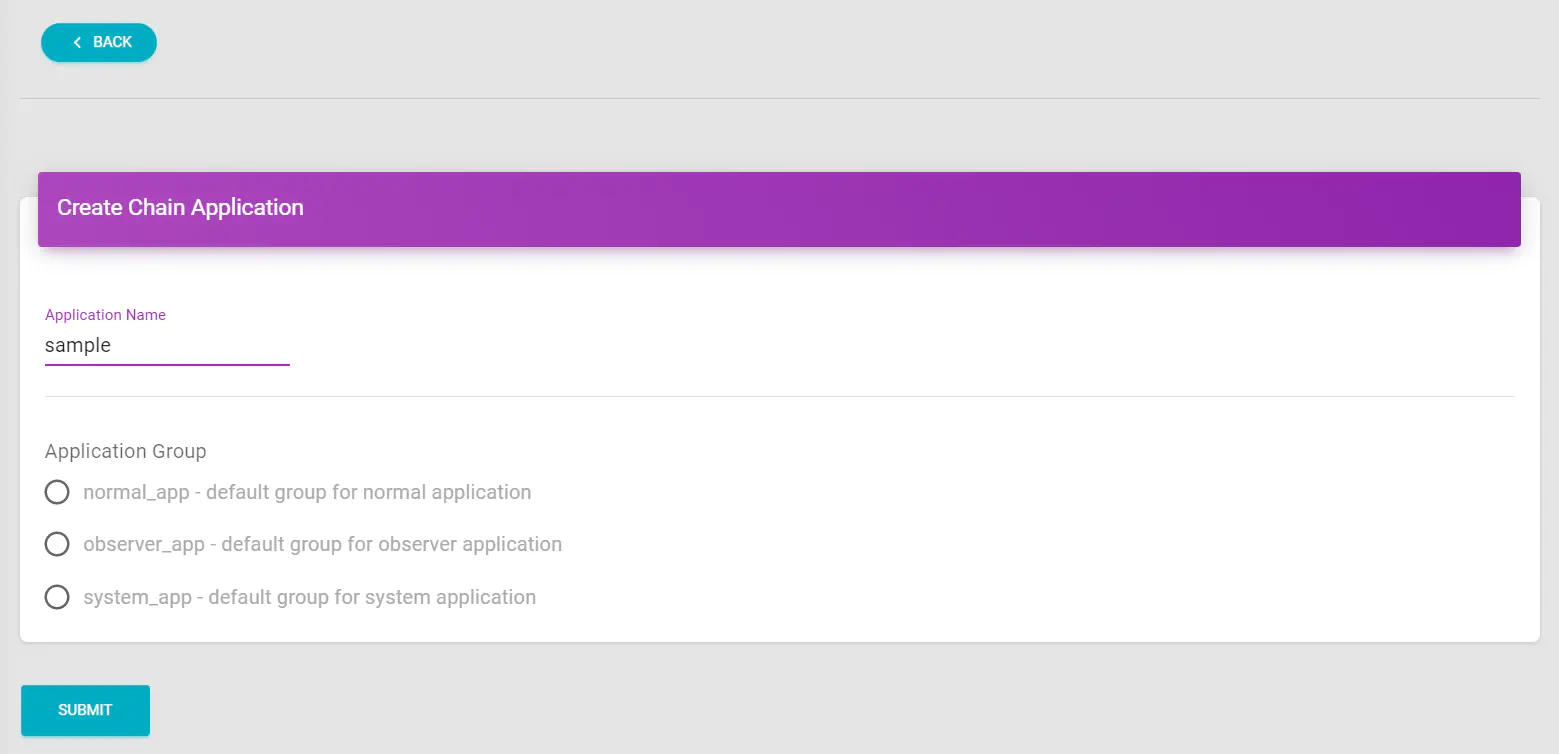
Input application name using characters or underscores, choose the group it belongs to. See here to customize privileges.
Click to complete the application creation.
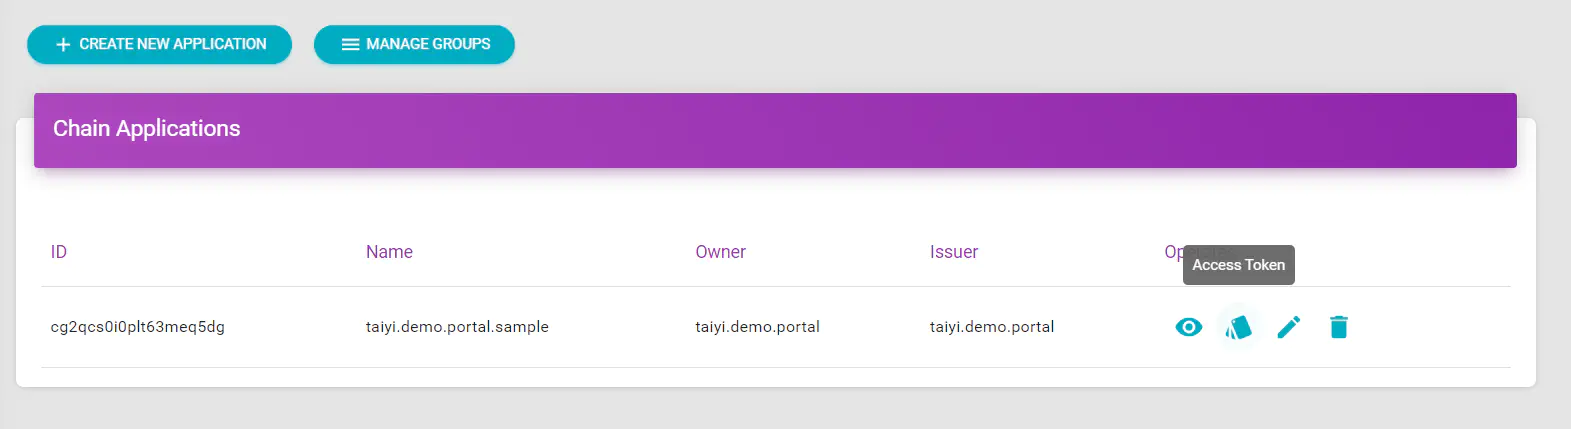
Create Access Token
Tokens are the credentials of the application to access the blockchain.
One application can have multiple tokens at the same time for switching or security.
Each token has an independent identity and validity period, which allows applications concurrently use.
Create new access token in the list
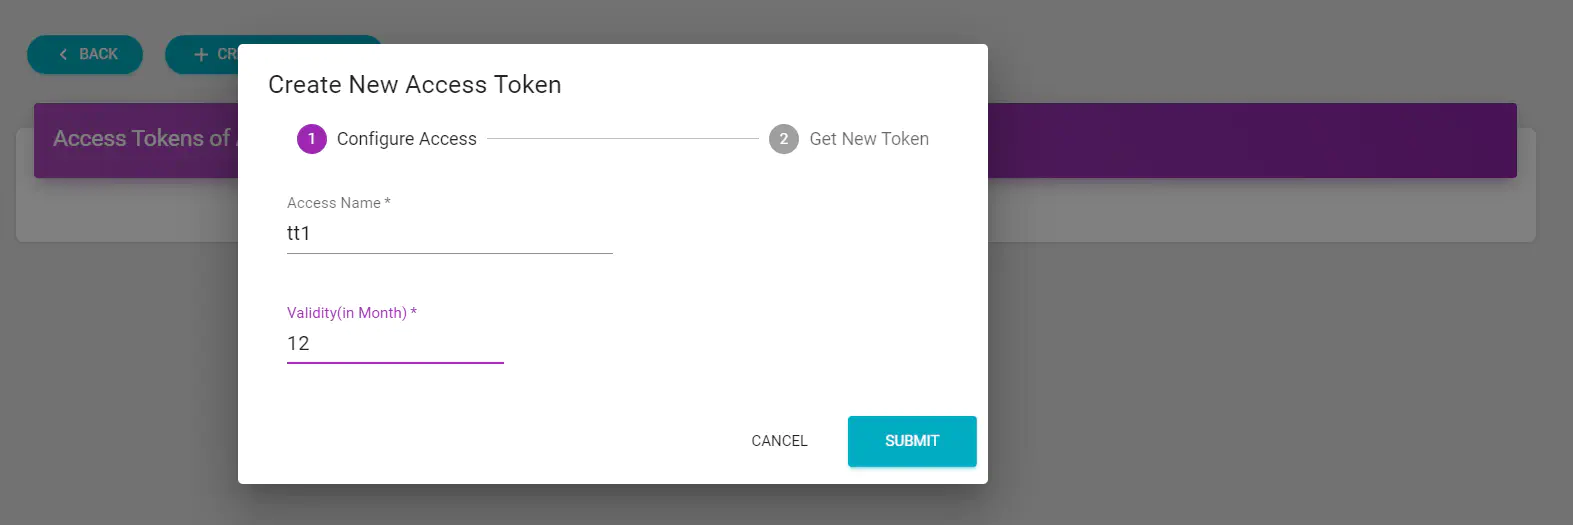
Input name and validity period to create.
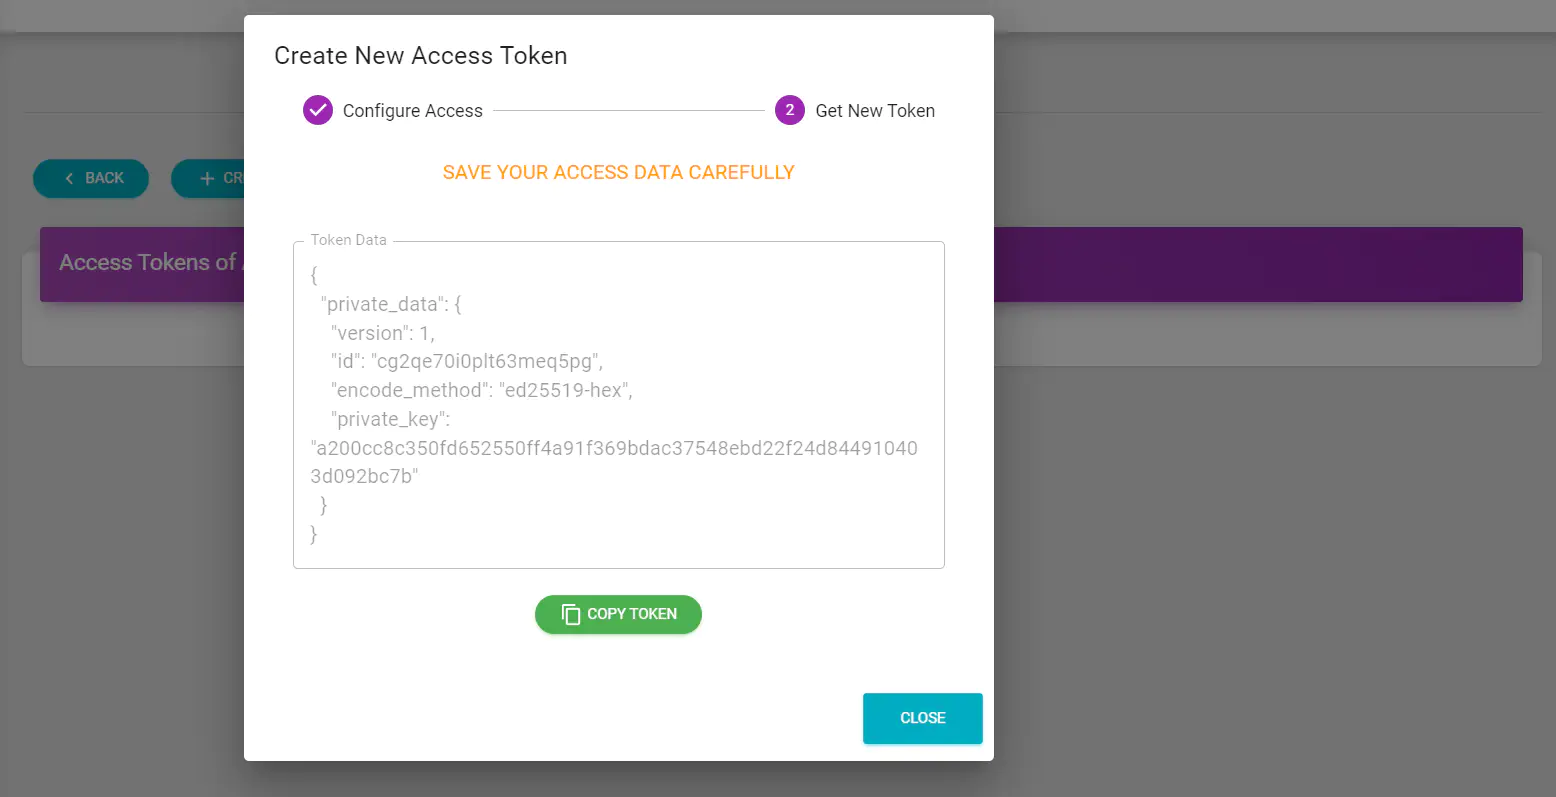
Must save the token data immediately when created success, cause the system don’t keep it.
It can not recover if you lose it.
Now the application could access the blockchain system using access token. Check the SDK for application developing